

Roast duck. So decadent, right?
Surprisingly, slow roasting a duck turns out to be easy and economical. For well over a year now, we’ve consistently been able to buy frozen young ducks at our local grocery store for $2 a pound. We look for the largest one we can find, usually six pounds. This will give us three dinners (six servings) plus meat for soup and some wonderful value-added extras – duck fat, brown sauce and bone broth.
The Best Way to Roast a Duck
Get ready for a day of easy cooking with delicious results. The duck will turn out beautifully if you follow the basic slow roasting method. However, Jim loves to finesse his recipes so I’ve included his tweaks in case you want to fuss a bit.
Thaw the duck in the fridge starting two evenings (about thirty-six hours) before the day you want to roast it.
Give yourself plenty of time on the morning of roasting day because the duck will be in the oven for up to seven hours. Unwrap it, remove the neck and giblets and rinse the duck with cold water. Freeze the neck for broth and reserve the liver to saute for a tasty lunch snack.
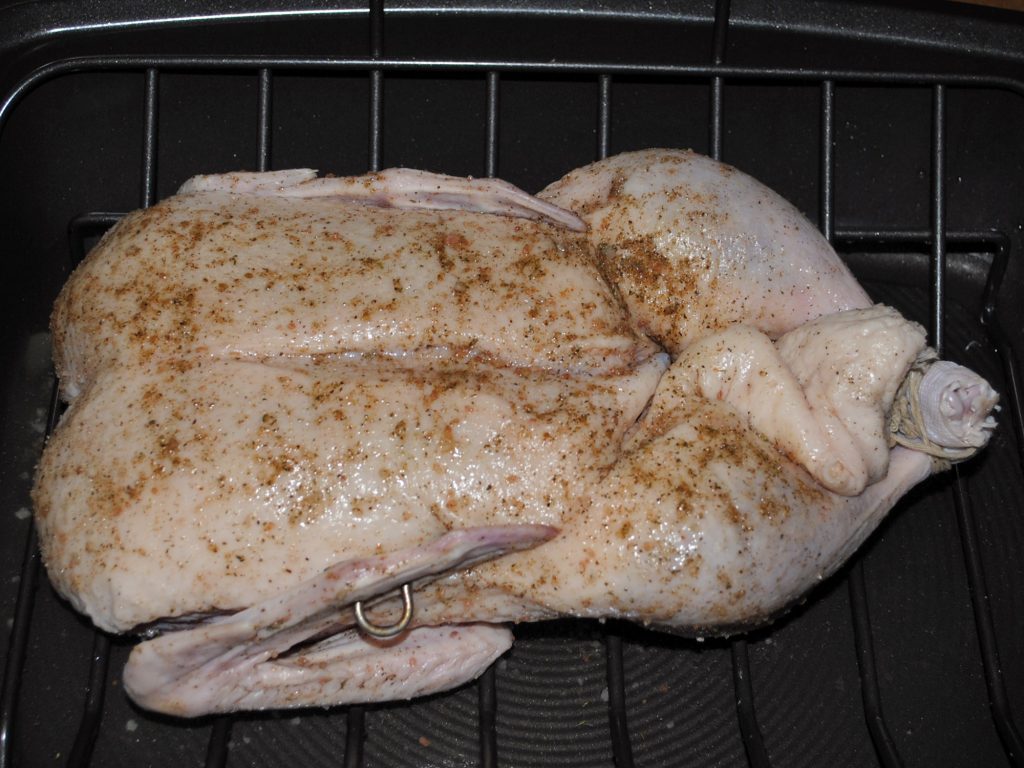
Dry off the duck both inside and out. Rub the skin with sea salt and pepper. Additionally you can rub it with any combination of herbs that you would enjoy. We often use one of our Bushfire hot salts.
Finesse: Put any or all of these into the cavity –
• a few slices of citrus fruit
• herbs such as thyme, rosemary and sage
• ¼ – ½ cup of a nice white wine. Gewürztraminer works well.
Preheat the oven to 250 degrees F. Tie up the legs as you would a turkey. Gently score the skin on the top and the bottom with a very sharp knife to allow the fat to render. Try to not hit the meat by cutting too deeply. Then put the duck in a roasting pan.
Finesse: Our new roaster has an easy lift V-rack. We put a drip pan below the rack to make it simple to collect all the valuable duck fat.

Put the pan on a lower rack in the 250 degree oven and leave it for 6 to 7 hours depending on the size of the duck.
Finesse: Jim likes to pull it out of the oven every couple of hours and turn the duck over to get a more uniform crispness on all sides. He also drains off the fat in the bottom of the pan each time.
Close to the end of the cooking period, turn the oven heat up to 450 degrees F for 10 to 15 minutes to get that skin really crispy. Then take the duck out for the final time, move it to your cutting board and let it rest, uncovered, for 10 to 15 minutes before carving. This is the perfect time to make the brown sauce.

Duck Fat
As one of the most desirable gourmet fats for cooking, duck fat is prohibitively expensive to buy, but a roast duck will yield a cup or more of fat that is yours as a bonus.
A couple of times during the roast ( because the fat gets darker the longer it’s in the oven), we pour off the fat from the roasting pan into a 2-cup (500 ml) canning jar or Pyrex measuring cup. Each pour will result in a mixture of juice, fat and solid bits. Let it settle and the fat rises to the top. Slowly pour off the fat through a fine strainer (with cheesecloth if you have it) into a straight-sided canning jar. Do this several times. The juice and bits that are left will make a wonderful sauce so hold onto that. Don’t worry if you didn’t get all the fat off because it will only improve the gravy.
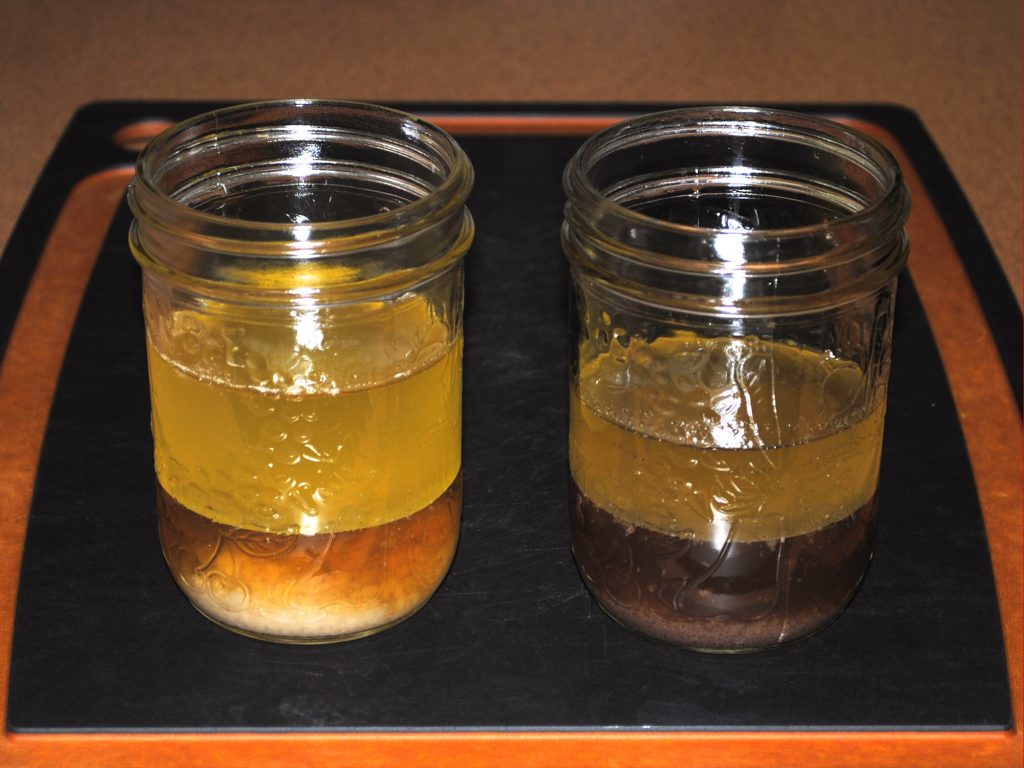
Duck fat keeps well as long as you make sure there is no juice or solid material in it. You have already separated it as much as possible, but it’s not one hundred percent pure yet. Here’s the secret. Screw the two-piece lid onto the canning jar, make sure it does not leak, and put it upside down in bowl. Refrigerate overnight.

The next day, open the jar and scoop off the top layer – everything that is not fat. Don’t throw out this beautiful gelatin; use it to add flavour and nutrition to your soup or sauce. The remaining fat is now pure and will keep in the fridge for several months. Try it once, and after that you’ll reach it for any time you want to fry something.

Brown Sauce
After you’ve separated out as much fat as you can, put the remaining juice into a saucepan. We add a little water to the roasting pan to get every last bit of flavour and colour. Let it soak for a few minutes, stir with a spatula and add to the saucepan with the juice. In a small bowl, make a slurry with 1/4 cup of room-temperature juice or water and either cornstarch (1 tablespoon per cup of liquid) or tapioca flour (1 ½ teaspoons per cup of liquid). Whisk the paste into the juice in the saucepan then cook, stirring constantly until the sauce thickens.
Bone Broth

After dinner comes the last stage. Remove all the meat from the bones. Mostly this is easy, but some of the thin bones could be missed, so take the time to be thorough. I hate biting into a hidden piece of bone in my dinner. Put the meat for the next couple of meals into a storage container in the fridge, and the small bits for soup in a different container. Everything that is left, plus the neck you saved, either goes into the stock pot for bone broth immediately, or into the freezer to make bone broth later.

Wow, Karen and Jim! You should have your own cooking show. I enjoyed so much your roast duck method and hints❤️
Always so delicious and the duck fat is a great bonus!